
I have been using Lightroom since its first beta (I am a secret nerd, there you have it); it has been a slow and long road following it, and feeling like it has a future. LR has grown into this great application that I don’t believe I could live without, especially because I don’t remember how to use bridge as efficiently as I once did. Even though Lightroom has been such an aid to everything we do with our images, there has been only one flaw that we had to take into Photoshop to work on – Sharpening. With droplet automation it was a breeze to do many images at once without breaking a sweat, it was only the time it took that became an issue with the framed borders and watermark adding to this.
So if your like me you may have been following Lightroom and have noticed an SDK for modules has become available recently. I am not brave enough to try my hand at programming anymore, but this was good news because some one would be. Timothy Armes was brave enough and brought out a great module that uses ImageMagick to do some post processing on the fly. I will leave it up to Tim to better explain about the module through his website: http://www.timothyarmes.com/lrmogrify.php.
What has me so impressed with this module is its ability to do all the things I used Photoshop for, but without all the overhead use of the computer. I can actually use Photoshop now to do editing and have Lightroom exporting in the background. Before with the use of droplets I would wait for the entire batch to be exported from LR and then that same batch processed through PS in two completely different stages. Using this module each time LR exports an image it is passed through ImageMagick all while it is exporting the next image and so on being completed in one complete stage.
So now our blog images can have their borders applied, then the watermark at the bottom, quickly and without interrupting any work that is being done in Photoshop.
here is a simple comparison of the old vs. the new:
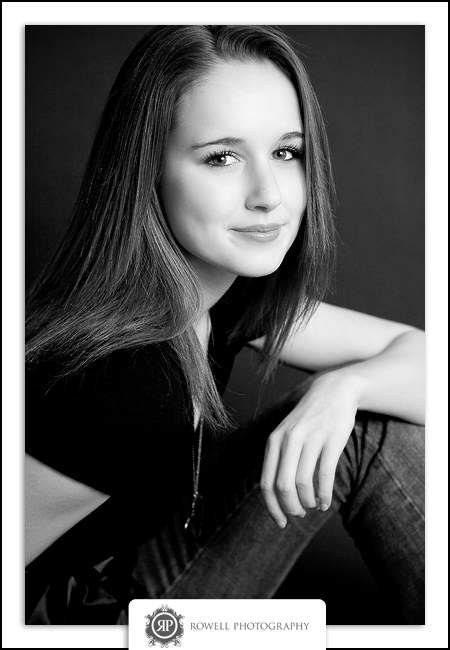
Old way: (notice the drop shadow around the photo, I am going to miss that)

New way: (at least I was able to keep the sharpening close)

So aside from the difference in the shadows and the loss of the drop shadow I am sure this nice time saver will be a great asset to us.
Any comments or questions on how the heck I managed to get this module running, feel free to ask.
Ryan out.